At this moment (November 2022), SvelteKit is still in pre-release. But Svelte as a front-end technology is quite mature and the underlying Vite technology is also used in many production scenarios at big companies.
What I'm aiming to achieve is to develop a real-world full-stack web app with the following characteristics:
- built with SvelteKit
- versioned with Git on Azure DevOps
- deployed automatically to Azure Static Web Apps with Azure DevOps CI/CD pipelines (Continuous integration / Continuous deployment)
- has an API using Node.js Azure Functions
- the API includes separate modules
- uses TypeScript for all code development
In other words, this series of posts should show a real-life full stack web app that could support any functional requirement and, as a bonus, offers excellent developer experience. As secondary bonus, most cloud services used here offer a generous free tier, so you only need to start paying when you get users.So, let's get started! First step, start a new SvelteKit project in a local folder. What I normally do is start the Azure DevOps project first, create a new repository.
The steps shown below are:
- Create a new project in Azure DevOps named "SvelteKit Chat room"
- Initialise a new Git repository
- Clone the repository and copy the address
- Create a local folder: SvelteKitChatRoom
- Open the folder in Visual Studio Code and open a new terminal
- Git clone the Azure DevOps repository using dot to specify the current folder: git clone https://<your org>@dev.azure.com/sveltekit/SvelteKit%20Chat%20room/_git/SvelteKit%20Chat%20room .
- Initialise the SvelteKit project using:npm create svelte@latest .
- Choose Skeleton project, TypeScript, ES Lint and Playwright support.
- Run npm install
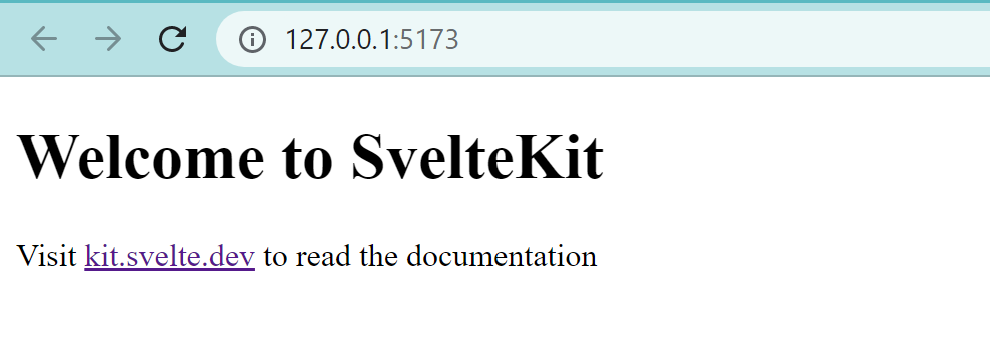
- Run npm run dev to see the app template running on localhost:5173
Steps
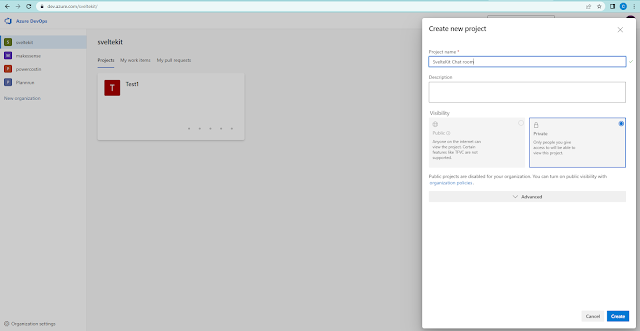 |
| Step 1 - create new Azure DevOps project |
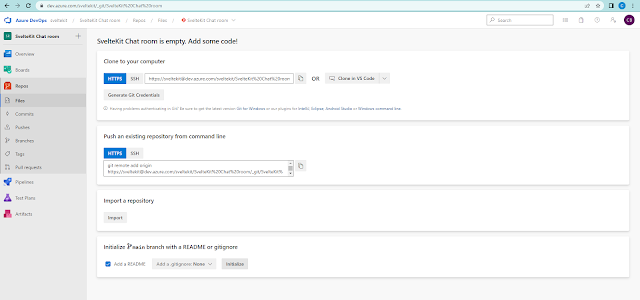 |
| Step 2 - Initialise a new Git repository |
 |
| Step 3 - Clone |
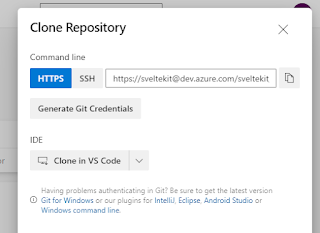 |
| Step 3 - Copy |
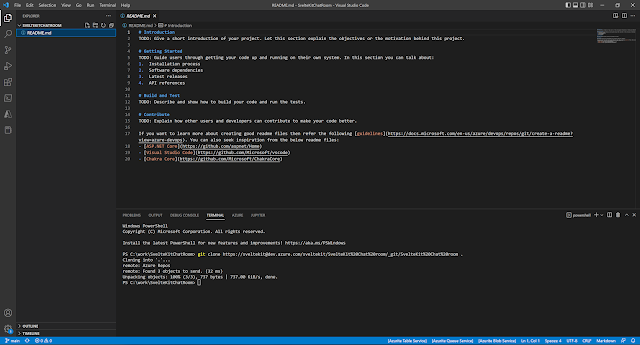 |
Steps 4,5,6 - Clone repo in VS Code terminal
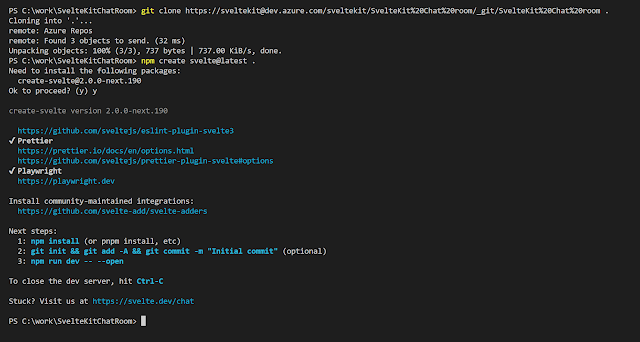 | | Steps 7,8 - New SvelteKit project |
|
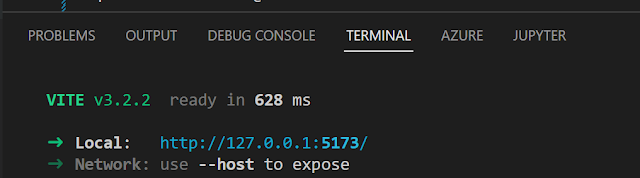 |
| Step 10 - Run locally |
 |
| Step 10 - End result |


Comments
Post a Comment