When deploying our app to Azure Static Websites, we need to mind certain limitations. All the Svelte code needs to be compiled and bundled into simple HTML, JavaScript and CSS files that browsers can consume. Actually, in SvelteKit, the code is split into multiple parts to get the benefits of server-side rendering but the point is that some transformation needs to happen before we deploy.
As a bit of background, the original Azure static websites were literally static storage of HTML, CSS, JavaScript and images exposed as the $web blob container of a Storage account. This option is still available for very simple sites.
The transformation of all the SvelteKit artefacts (Svelte / TypeScript files) is 100% automated using the svelte-adapter-azure-swa SvelteKit adapter.
Steps:
- Install the Static Web App (SWA) adapter as a DEV dependency svelte-adapter-azure-swa
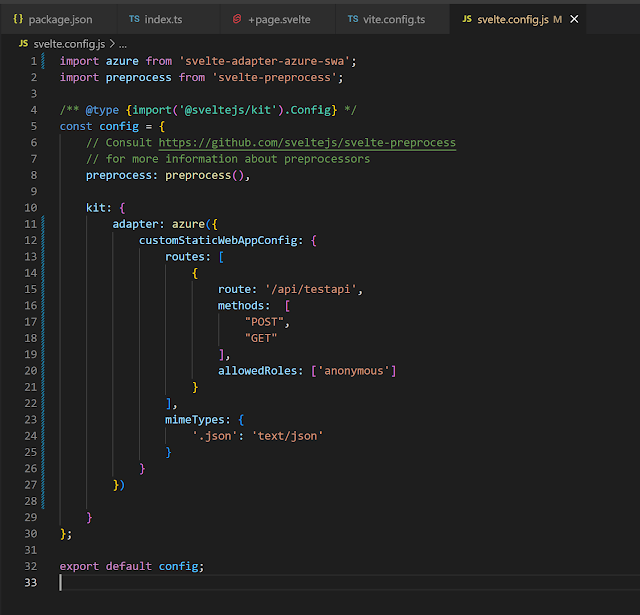
- Change the svelte.config.js file to use the SWA adapter. Note that the route needs to point to our API Azure function, available at /api/testapi
- Add the configuration file for the add-in, swa-cli.config.json.
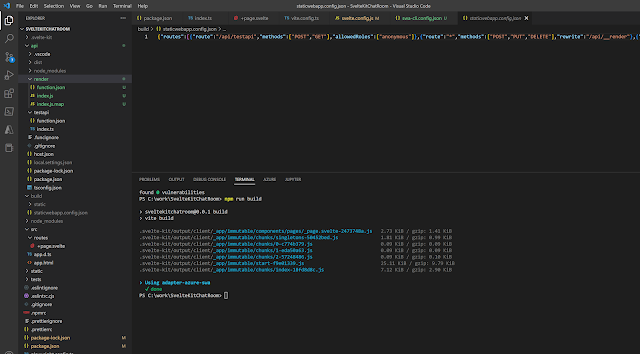
- Build the project with npm run build.
- Notice that this creates a new function, render, automatically generated by the SWA adapter. This function handles the server-side rendering (SSR) in the production environment without the need to install SvelteKit or other dependencies.
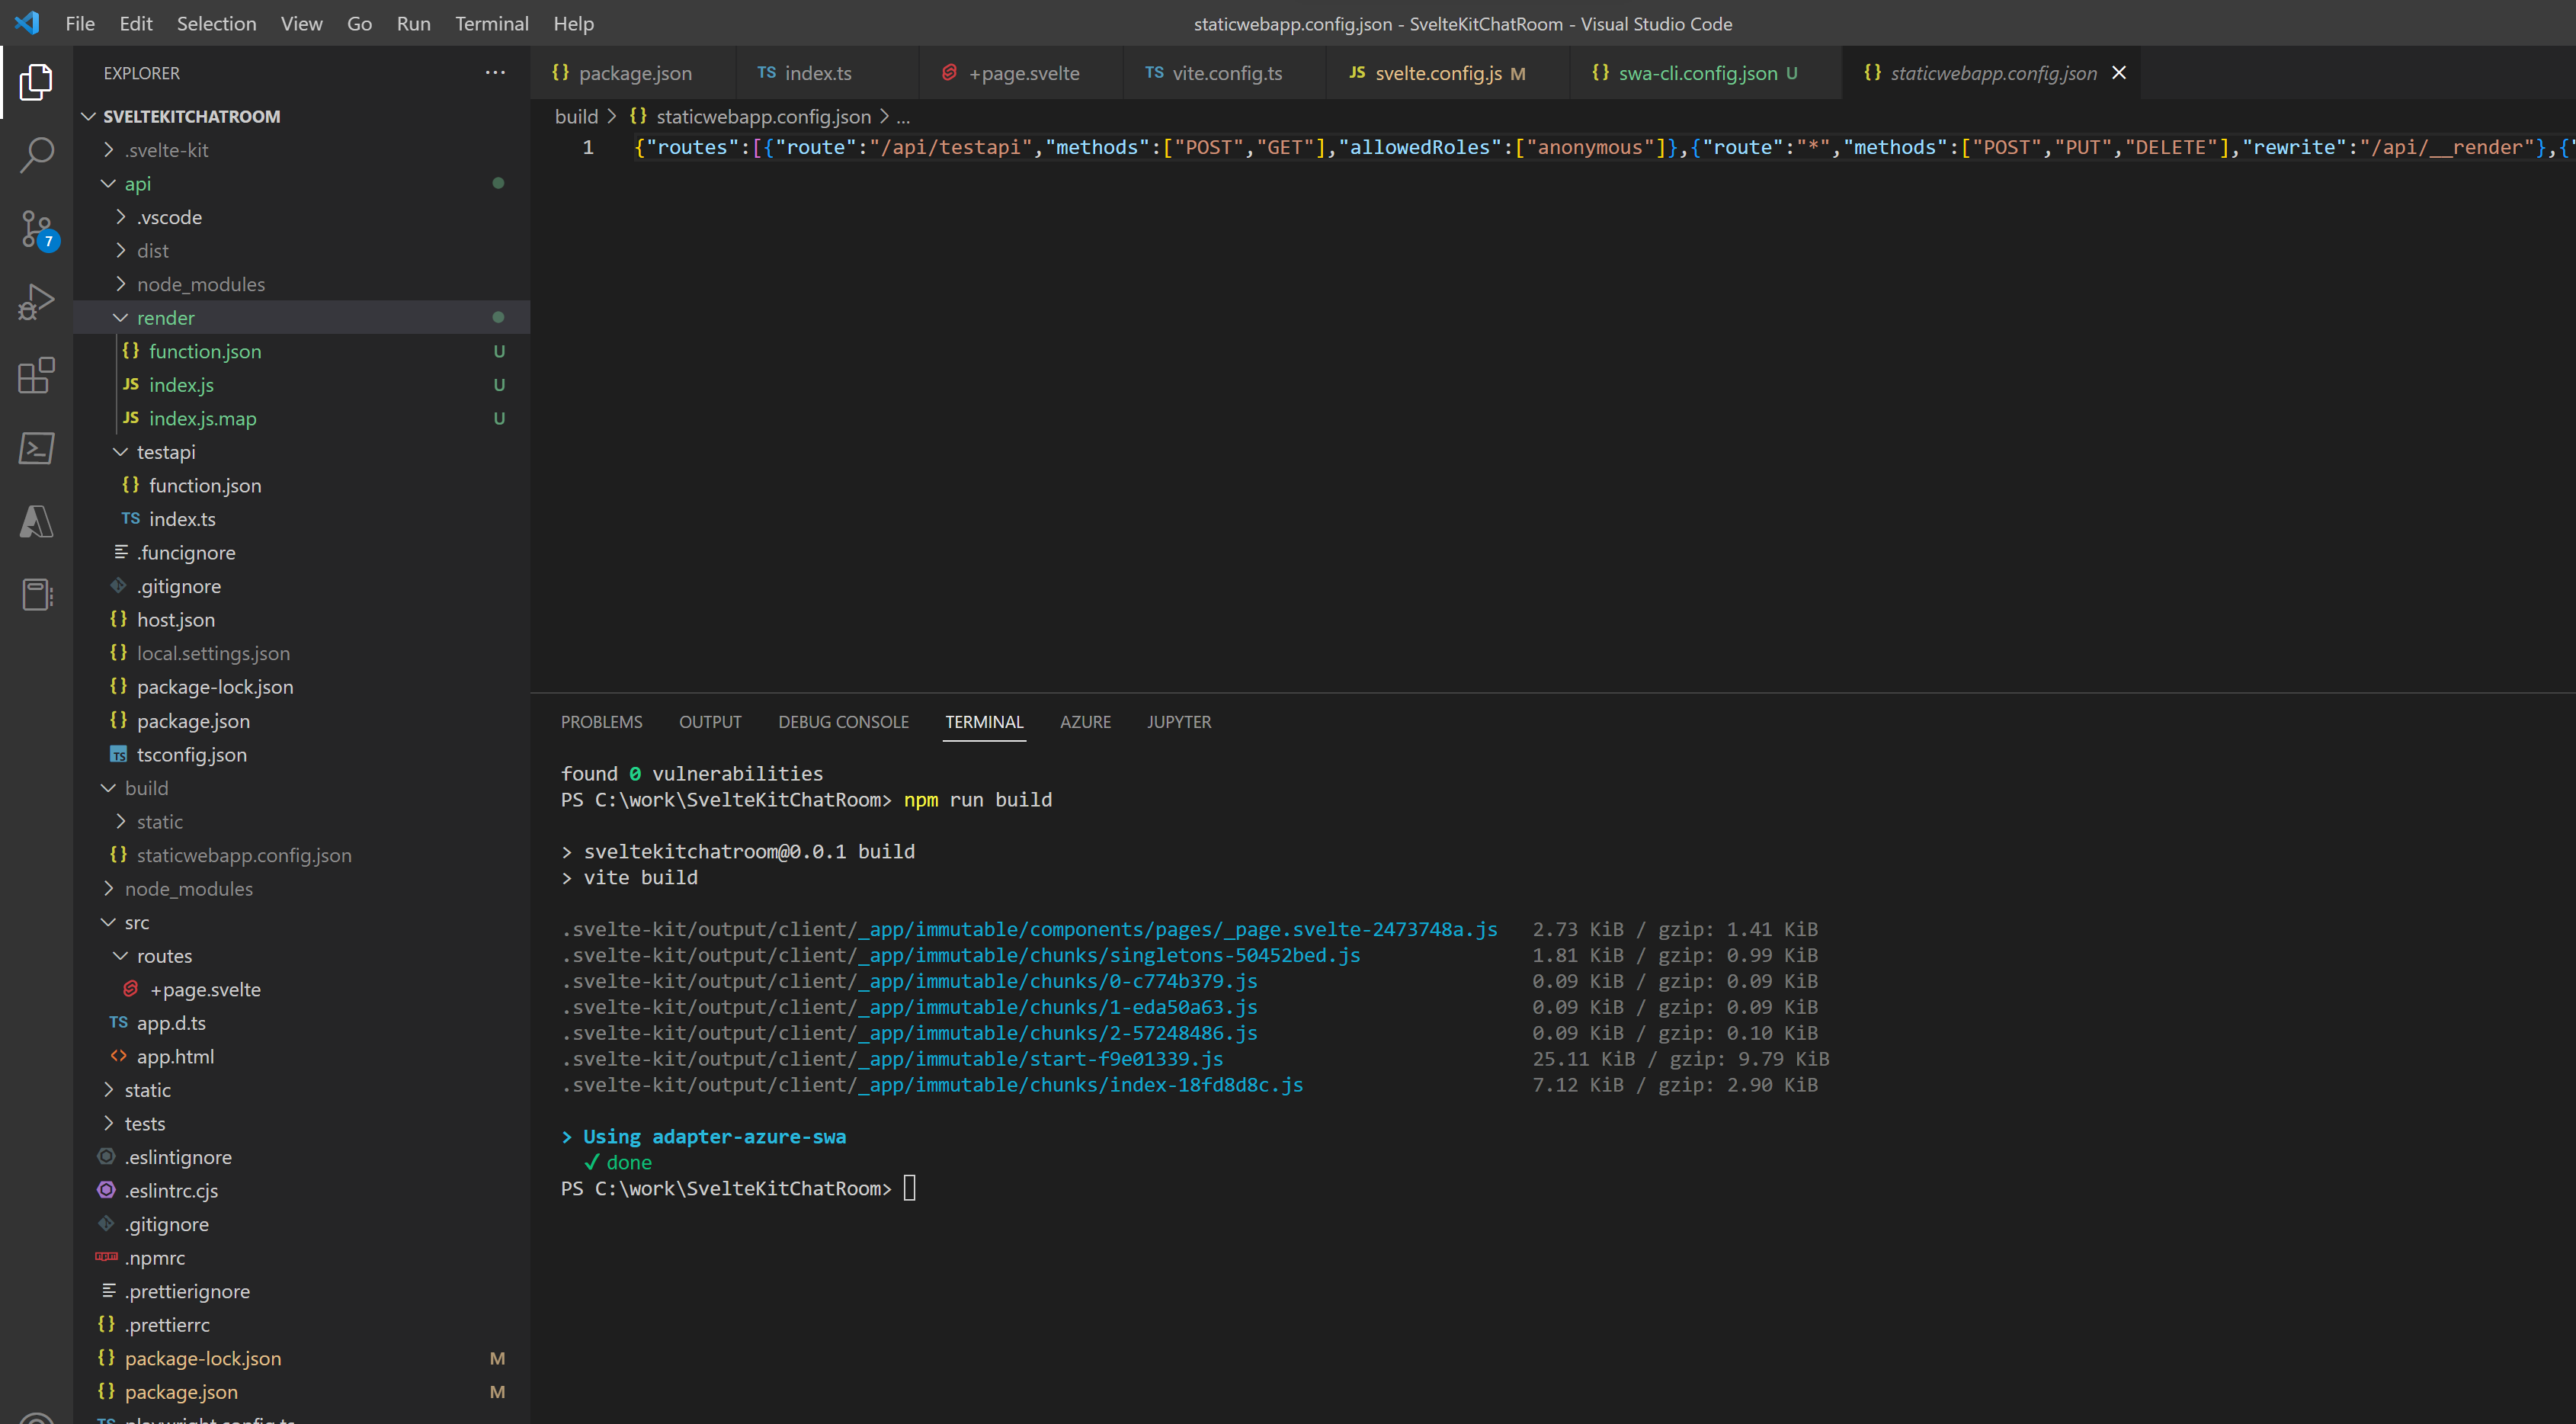
- Notice also that the configuration file required by Azure Static Websites, staticwebapp.config.json, is also generated based on the routes we configured at step 2 in svelte.config.js and also includes the render function as a route.
- We can now run the app using either swa start (because of the new configuration). The old way of running it (func start in /api and npm run dev in the root folder) still works.
Now, let's check the new changes into Azure DevOps. The next step will be configuring the build and release pipelines to deploy our code to Azure.
Screenshots for each step
 |
| Step 1 - installing the adapter |
 |
| Step 2 - changing the configuration to include the adapter |
 |
| Step 3 - adding the add-in configuration file |
 |
| Step 4 - building and seeing the newly generated files - render function and staticwebapp.config.json |
 |
| Step 5 - running the app locally |


Comments
Post a Comment